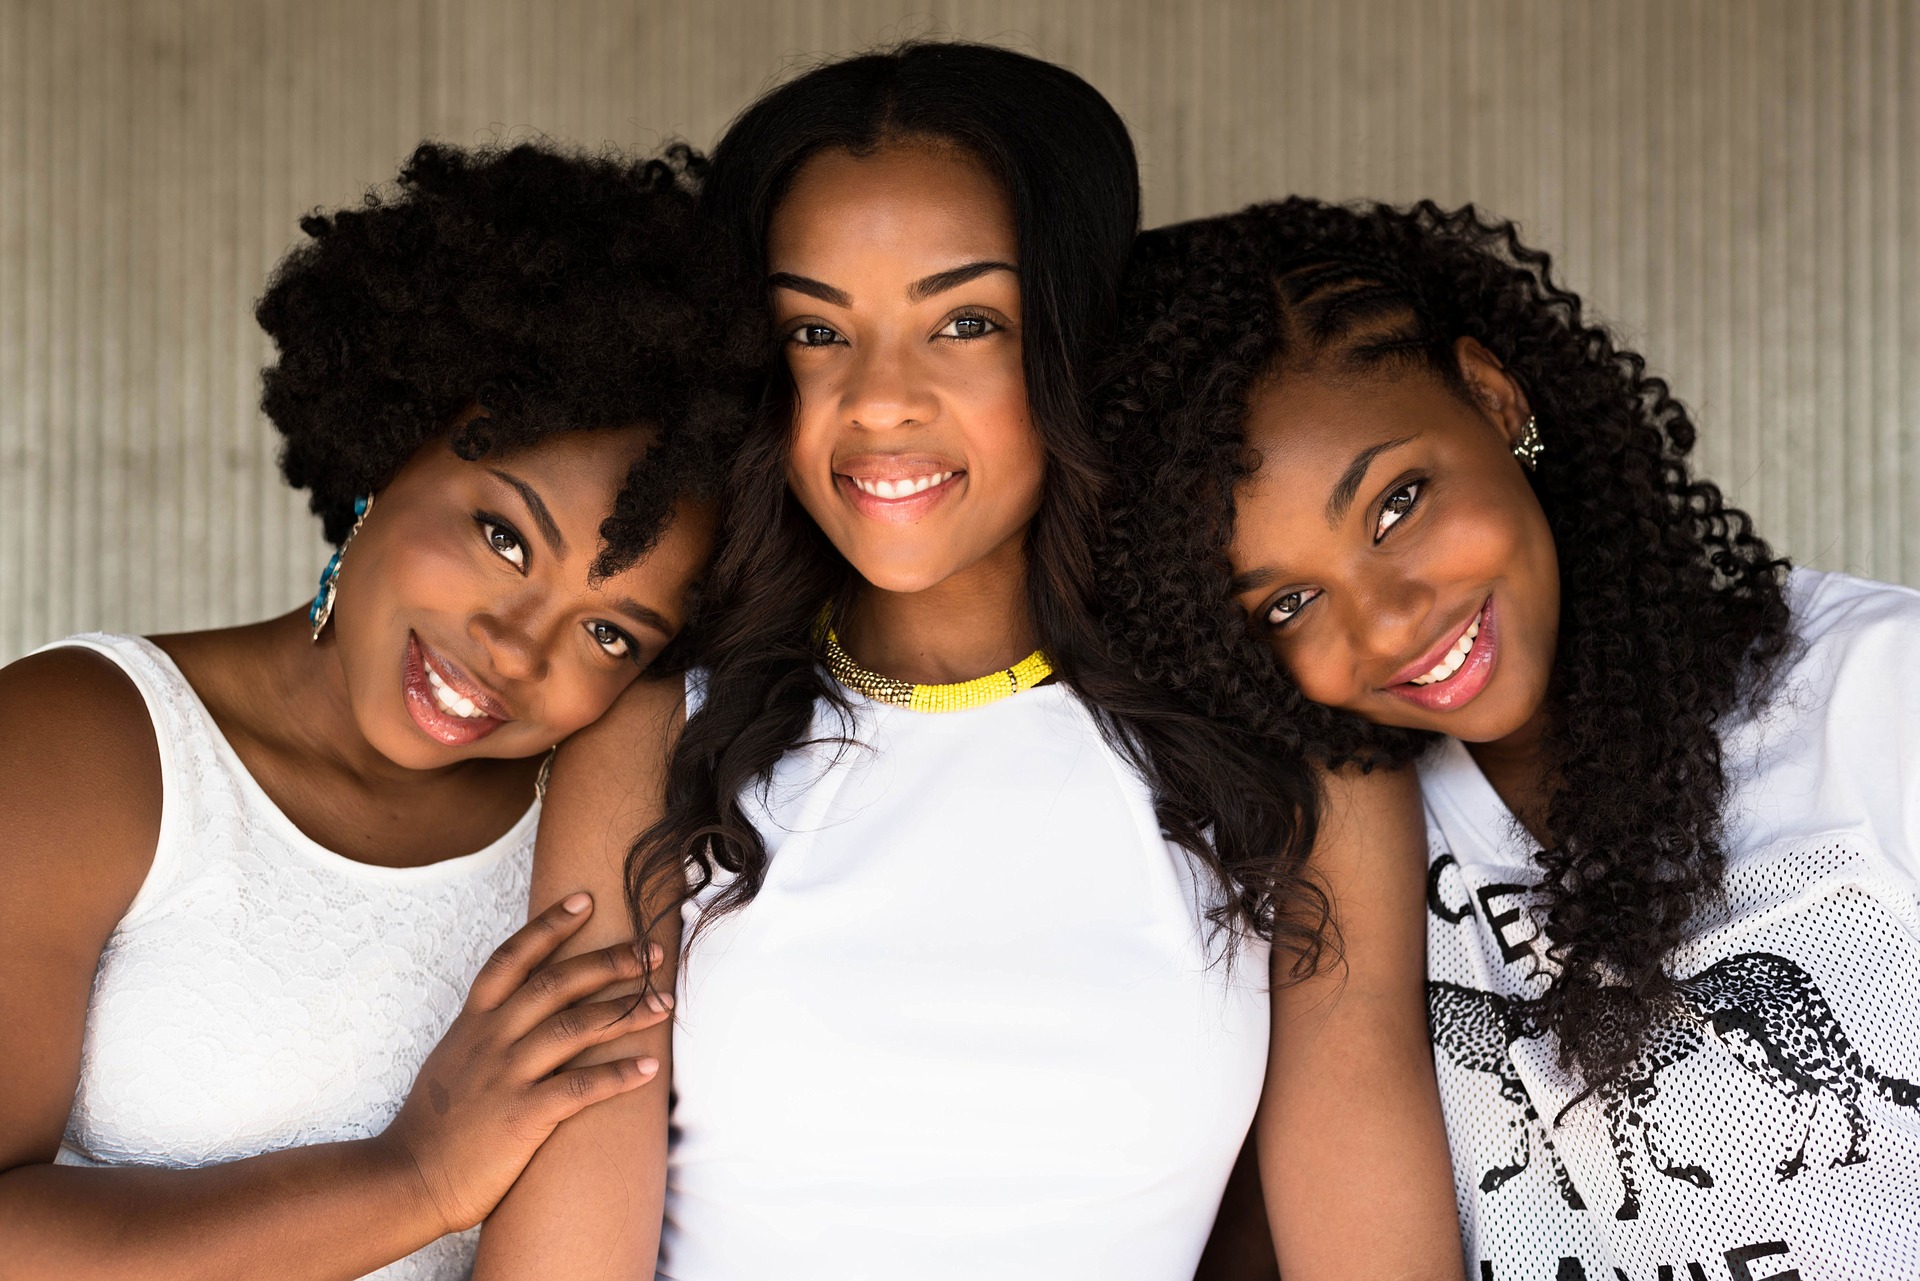
Well hello, I know it’s been a minute but I am back in the saddle again. It’s so easy to get caught up in life and the next thing that steals your attention. But I’m here, more determined than ever to stay focused on keeping this blog running. I’m looking forward to bigger and better things this year. Chocking my first year of blogging(well not quite) up to a learning experience. For my 2018 debut, I have decided to focus on a topic that I am pretty passionate about. And, not to brag or anything like that, but it’s my most asked-about question as I have gone about my regular daily grind. So I have decided to share my personal experience and knowledge about how I care for my natural hair, so hopefully, other folks can benefit from what I have learned.
I have always had pretty healthy, medium length relaxed hair. However, I had always been toying with the idea of returning my hair to its natural state. But I didn’t. Partly because I didn’t know how to, and secondly, I didn’t think I would know how to care for it and style it appropriately for the corporate environment in which I worked. Can I get an amen!! Am I reading your mind? No, your thoughts are real and you’re not alone.
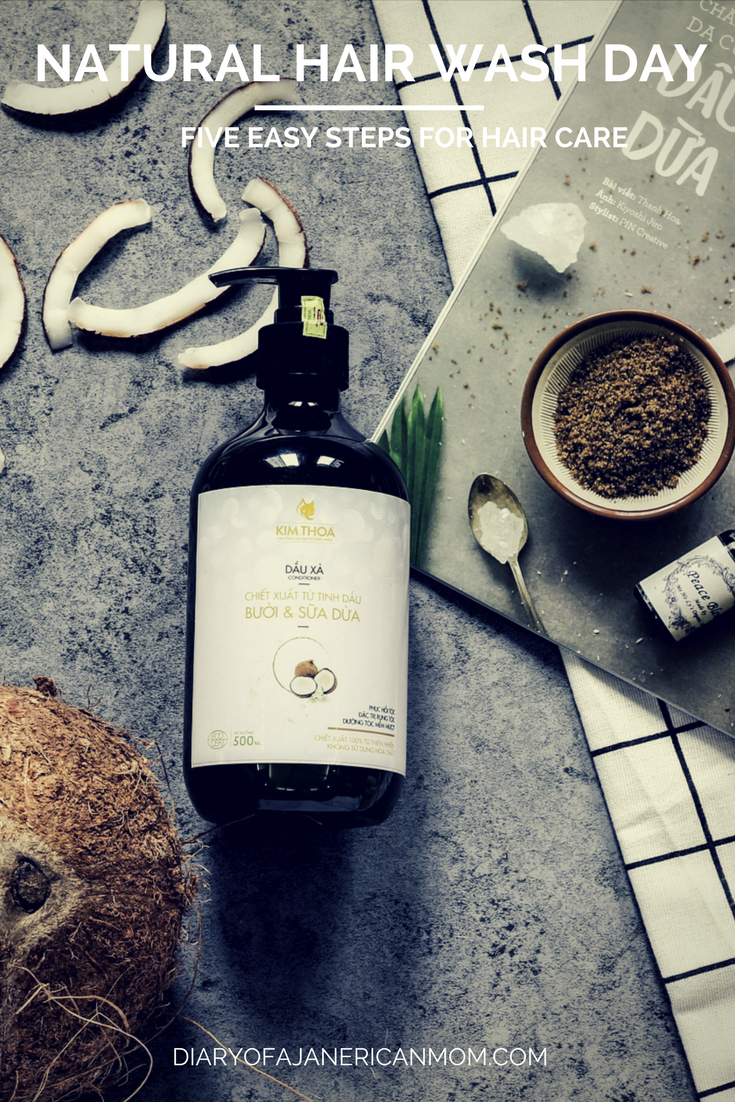
I will share with you my natural hair weekly wash day routine. These are the steps I take to care for my natural hair along with the products I use that have worked for me so far.
Before I get into mentioning products, please note that this post contains affiliate links. Please read my disclosure for further details.
Weekly Wash Day Routine
Step 1(Wash and Condition)
Wash and condition hair with a sulfate-free shampoo and conditioner. Any brand will do honestly. You will eventually find your favorites. If you feel that your hair has a lot of product build up or is very dirty you can use a clarifying shampoo. I recommend and really like Pantene Truly Natural Clarifying Shampoo. Try to minimize the number of times you do this though and I will tell you why below.
Suggestions/I have used:
- Herbal Essences Hello Hydration Shampoo and Conditioner (not sulfate free but pretty mild)
- Trader Joe’s Tea Tree Tingle Shampoo and Conditioner
- Carol’s Daughter Black Vanilla Sulfate-Free Shampoo and Conditioner
- Shea Moisture Coconut and Hibiscus Shampoo and Conditioner
Step 1a(Co-Wash)
In between the times when you feel like your hair needs a wash and condition, do a co-wash instead. Co-wash stands for conditioner wash. I have never used an actual conditioner to wash my hair. I prefer to use the pre-packaged ones which offer a little more cleansing than the straight conditioner. This is a one-step process.
Suggestions/I have used:
- As I am Coconut Cowash Cleansing Conditioner
- Ouidad Curl Immersion Low/No-lather Coconut Cleansing Conditioner
Step 2(Deep Condition)
Deep condition every week. I think this is probably the most important thing to take away from this post. You can alternate between one that has protein and one without but I don’t think it’s too critical to do that. Just follow the instructions on the label for the one you choose.
Suggestions/I have used:
- SheaMoisture® Jamaican Black Castor Oil Strengthen, Grow and Restore Treatment Masque (This is BAE, my hair loves this stuff)
- Ouidad Coil Infusion Triple Treat Deep Conditioner (extremely pricey but so worth it. I only use it when my hair needs a real boost, like gold)
- Eden Body Works Coconut Shea Hair Masque Treatment
- Mielle Organics Babassu Oil & Mint Deep Conditioner
- Shea Moisture Mongongo and Hemp Seed Oil Deep Treatment Masque (this is a recent addition but it has delivered.
Step 3(Styling)
The steps below are what is called the LOC method. LOC stands for Liquid or Leave-in/Oil/Cream. Depending on how much hair you have you might want to section your hair to do these steps.
Step 3a(Liquid/Leave-in)
After your hair is cleansed and deep conditioned, follow up with a leave-in conditioner(must-do). Make sure your hair is still wet. I mix them as well if they mix well together. I have used many different ones but here are a few to try. You will figure out your fave.
Suggestions/I have used:
- Eden BodyWorks Coconut Shea Leave-In
- Kinky Curly Knot Today Leave-in/Detangler
- Carol’s Daughter Black Vanilla Leave-in
- Pattern Beauty by Tracee Ellis Ross In(recent fave)
Step 3b(Oil)
Next seal in all that moisture with an oil of your choice
Suggestions/I have used:
- Coconut Oil
- Olive Oil(I love this because of the consistency but I use the others too)
- Castor Oil(I prefer to use this as a scalp oil, mixed with tea tree oil)
- Jojoba Oil
Step 3c(Cream)
Now this third step, Cream, is where we might deviate depending on the style you’re going for. My go-to style is a twist out so I will tell you what I do for that.
- I section my hair into large sections according to how I want the style to be.
- Each section I divide into smaller sections that would be the size of a twist. The size of each twist is up to you but the bigger you make it the less defined it might be, which usually translates into more volume. So use your judgment. I like medium to small as my hair is relatively thick and doesn’t need much help with volume.
- For each twist, I add my twisting butter and butter gel, detangle the section with a Denman brush/comb then two-strand twist. When I get close to the end I twirl/coil. Pay attention to how much product you’re using. Not too much, not too little and pay special attention to the ends. Alternately, you can wrap your twist on a perm rod to make your ends curly.
My ride or die cream products
Other Suggestions/I have used:
You can let your hair to air dry or you sit under a hooded dryer. Make sure it’s completely dry before you take it down or you will end up with a frizzy mess. Some people like that though.
Step 4(The Takedown)
Now for the main event, the takedown…
- You have to be real gentle here. First of all coat your fingers hands with an oil of your choice(see list above)
- Separate the two strands of the twist. I would say do this over your whole head. You may decide to leave it like this depending on the look you’re going for.
- If you want more volume you can separate some more. This can get tricky. You will need to separate each of the previously separated strands where your hair naturally wants to come apart. Kinda shake it and separate gently and use your oil-covered fingers to kinda twist/twirl them back in place, smoothing them a bit.
- Do this over your entire head, then use a pick to fluff your roots for a little extra lift, styling to suit the look you’re going for.
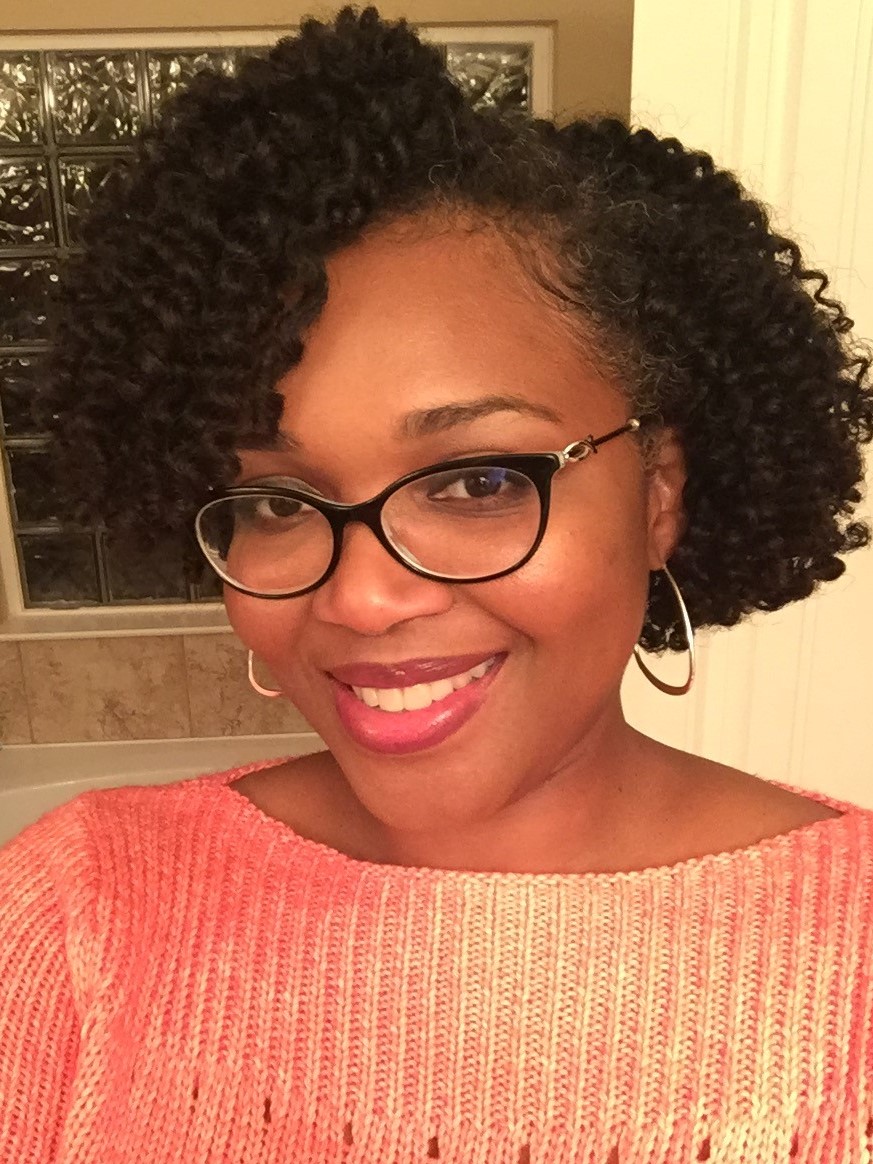
Here is what my hair looks like after all of that! Not bad right?
Step 5(Preservation)
How do I preserve this style you might ask. First and most importantly, make sure you’re keeping your hair moisturized. Your environment will determine how badly you need to do this. You might need to add some more moisture(or not) and seal. Whatever you do make sure you sleep in a satin bonnet or on a satin pillow. If you have pretty long hair you might need to do a pineapple to preserve your curls. This just means gently piling your hair on the top of your hair and securing it with a silk scrunchie or rubber band. Your head should look like a pineapple when you’re done. For me, I just slip my bonnet on and go to bed. In the morning, I fluff, pick and go!
If your style doesn’t last a whole week, you can invoke the headband or make a puff. It will be just as cute/professional.
Let me know if you have questions because I am sure I missed something. I have broken it down as simply as I can. Once you get started your routine will evolve as you learn your hair and what it likes. That’s what natural hair care is all about. One point to note is that most of these products are all-natural or organic.
Just in case you’re interested, most, if not all these items are available from every body’s favorite store, Target. One secret I will share is that I use their RedCard so I get 5% off of everything I purchase. Sweet! If you would like to sign up for one, can either be debit or credit, you may do so here.
Amazon is another great option for purchasing most of these products, and more! Most drugstores and beauty supply stores also carry most of these product lines.
I have mixed hair so finding your blog was a life saver.
So happy you find it useful! Let me know if you have questions
I just started transitioning and sometimes I don’t know how to style my hair
I feel your pain. But I would recommend doing rod sets(flexirod or perm rods) That way you get the same curl for both the natural parts and the relaxed ends. If that’s too hard for you, try some braids. I did crochet braids for several months.